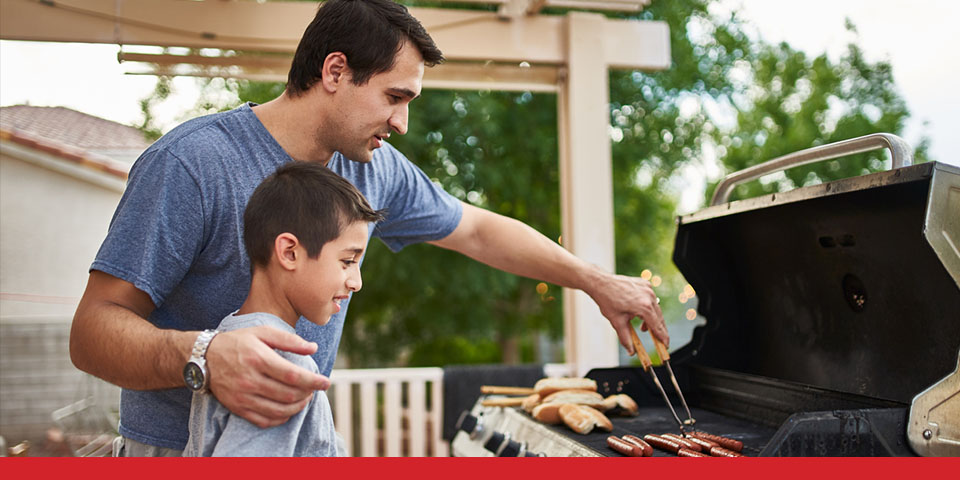
Summer is a special time of year. It brings out feelings of joy and relaxation like no other season. For you, that might look like lemonade, hammocks and campfires. Or maybe it’s sunbathing, swimming and nights under the stars. At the heart of a lot of these activities is the grill, where you can unwind and chow down after a day out with family or friends.
But a lot of grills fall out of use when the season ends. While they wait for the next summer, rust can build up. They may even spend those months covered in grease, grime and spider webs. These unclean grills were part of a fifth of all grill fires between 2017 and 2021.
So, before busting out the grill this summer, it’s a good idea to give it a deep clean. This way, you can make sure it runs safely and smoothly so that you and yours can enjoy its bounty. In this guide, we’ll go over how to prepare a grill and what to do before using a new grill.
Before doing anything else, visually inspect the current state of your propane grill. Ideally, you should do this in a well-lit area where you can easily see into the nooks and crannies. It might be necessary to get low to the ground so you can see up and under the grill if it’s particularly dirty.
Once the grill is in position, assess it from all around, looking at both the inside of the grill and the outside. Pay special attention to:
Many of these components can develop a coating of grease and grime. When inspecting hoses, keep an eye out for holes and incisions, as these can lead to gas leaks. Propane gas can pose a threat to you and those around you if it is inhaled or ignited, so identifying and addressing potential leaks before you actually turn on the gas is vital.
As you identify areas that need cleaning or repairs, keep notes. The last thing you want is to forget a part that needs replaced and end up with a busted grill when you need it most, especially if that missed repair results in a gas leak. Once you have your list in hand, you can move on to the next step of the process.
Now that you’ve evaluated the surface, it’s time to look deeper. It might be tempting to jump in with soap and a scrub brush immediately, but it’s best to hold back. To really make sure your propane grill is clean and functional, you’ll need to disassemble parts of it:
Once these parts are free of the grill, you can further inspect them and identify additional areas for cleaning. Inspect hoses and tubes again, paying special attention to blockages inside the shaft. If any parts are damaged, set them aside for replacement rather than cleaning them.
From there, the cleaning can begin in earnest. An easy place to start is the grease tray since its entire purpose is to collect grease that forms during cooking. Once you’ve dumped that out and disposed of it correctly, start scrubbing out the grill itself with a mixture of hot water and a little bit of dish soap. Your job is to kill all that grease and grime, not drown the grill, so wring out your rag or brush before using it. Then, target the grease, grime and spider webs plaguing the inside and outside of your grill.
Cleaning the parts you’ve removed is similar. You can scrub cooking surfaces thoroughly, though it might be easier to use a dedicated grill brush than something repurposed. Your burner should not be exposed to water whatsoever, as water can prevent it from starting properly. Instead, try using a wire brush to clear its holes of debris. Blockages in hoses or tubes can also be cleared out with wire, although you’ll want to use wire that is long enough for you to run it through the tube without pulling it back out the same side.
Once the grill and all its working parts have been cleaned, you can start making repairs. While your repair process will change depending on what parts you’re replacing, there are some general guidelines you should follow:
Many parts can be slotted in as easily as they were removed. Gas hoses and gaskets can take a bit more elbow grease, however. When reinstalling them, make sure the connections are secure to avoid gas leaks.
Your damaged parts might be replaced now, but your summer grill prep isn’t done just yet. Before you start grilling up actual food, there’s one last step you need to take.
Testing is a vital and often overlooked part of the cleaning process. Even new grills should be prepared and tested before they’re used. Testing gives you a chance to make sure everything is working properly before the big day. More importantly, it helps you identify gas leaks you may have missed in your inspection and cleaning process. Before you start, move the grill away from buildings and people before turning it on. You should also check your grill’s manual to ensure all parts are in their proper place.
To test your propane grill, you should:
If your grill passed the test, turn it off and allow it to cool before giving it one last scrub with a brush. Once you’ve completed the final clean, your grill is officially prepared for summer. Just remember to use healthy grilling practices, and you and your loved ones are sure to have a blast.
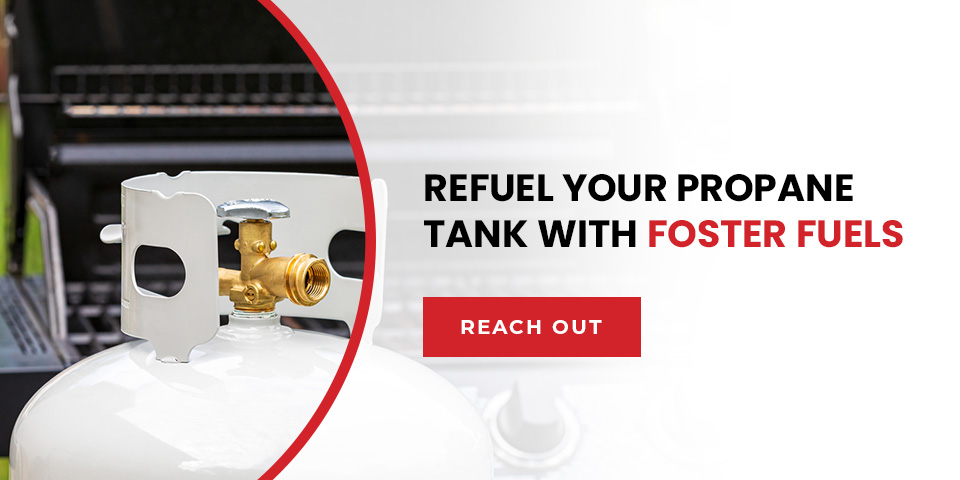
When you run out of propane, you can count on Foster Fuels to fill you up. We offer six propane refilling stations across Central Virginia, and our award-winning team is on standby to help you refuel or exchange an expired tank for a new one. Whatever your propane needs, Foster Fuels is here to help.
To learn more, you can reach out online or call us at 800-344-6457. Our team is ready and waiting!